I’ve never made a wreath before now and I must admit the whole thing was so ruddy relaxing that I think I’m going to make it a seasonal thing! If you haven’t yet tried it then seek out any last minute workshops near you – it’s really lovely and will totally get you into the festive spirit.
Now with time in mind, I’ve actually made the below a really simple 3-step guide to creating your own wreath and most of the items used can easily be found on Amazon. So if you’re ready to get your craft on and/or want to see our wreath outcomes then keep scrolling!
What You Will Need
- Copper wire wreath ring
- A roll of binding wire*
- Some green stub wire*
- Floristry scissors
- Ribbon (approx 1-1.5 metres long) or string to hang your wreath
- Moss (Sphagnum Moss is the best)*
- Some seasonal foliage and flowers/berries
* All items with an asterisk can be found on Amazon!
The Ingredients
Your choice of ingredients is where the creative process begins. Choose a variety of green foliage, add berries, branches or even dried fruits & seed pods for a Christmas feel. Your wreath can reflect your favourite colour combinations from delicate natural hues to vivid brights.
The great thing about these DIY wreaths is their rustic simplicity, its more about textures and colour combinations, rather than having an abundance of expensive flowers. To keep fresh greenery looking good, remember to give it a light spritz every couple of days.
If you do want to introduce flowers into your design, one idea from a previous wreath post is adding dried ingredients – Hydrangeas, lavender, roses, pinecones and cinnamon sticks offer a very pretty festive display for something a little different indoors.
Step 1
Start by creating your base
This is the moment where you and your moss get a little bit mucky!
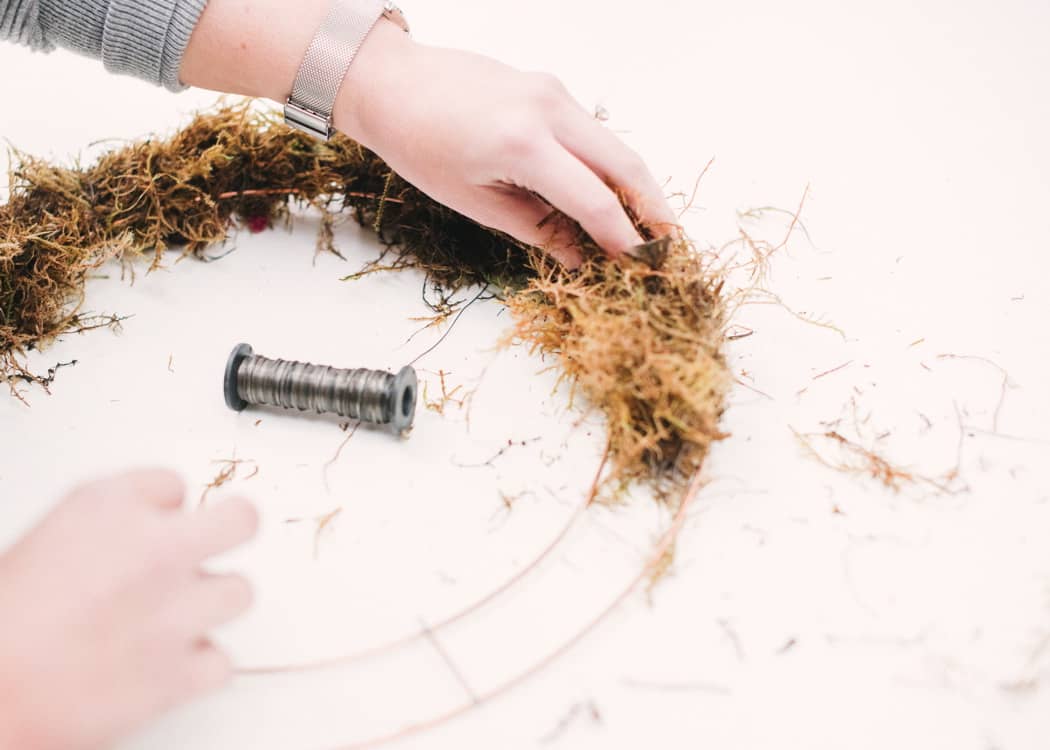
Taking your reel of wire, wrap about 3 inches of one end around a spoke on your copper ring – tightly.
Next start inserting the moss into the copper wire ring to fill it out, as you go take your reel of wire and wrap around the moss tightly to keep in place. Repeat this process until the circle has been filled and then repeat 2-3 more times for good measure! Each time wrapping your wire around the moss and ring tightly to create a secure base.
Once complete, trim any excess wire and ‘tuck’ into the moss.
Step 2
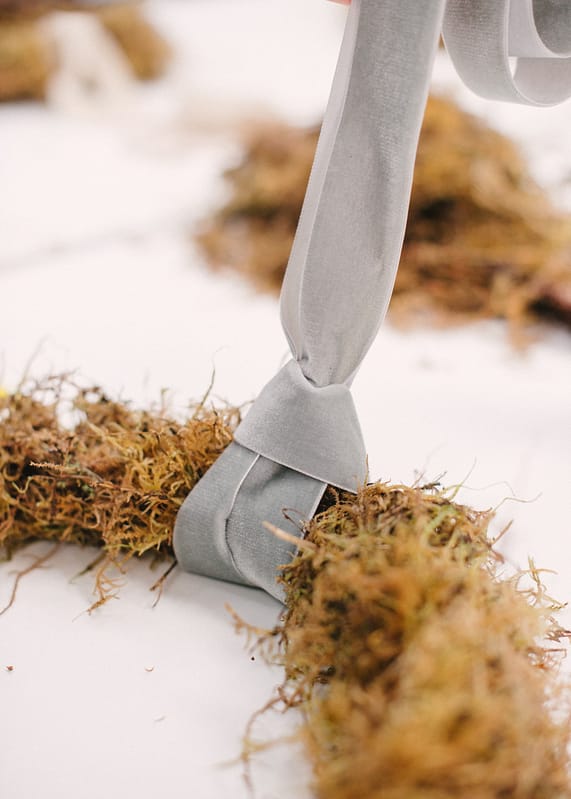
Image by <a class="text-taupe-100" href="http://www.hannahduffy.com" target="_blank">Hannah Duffy Photography</a>.
A Simple 3-Step Guide to Wreath-Making.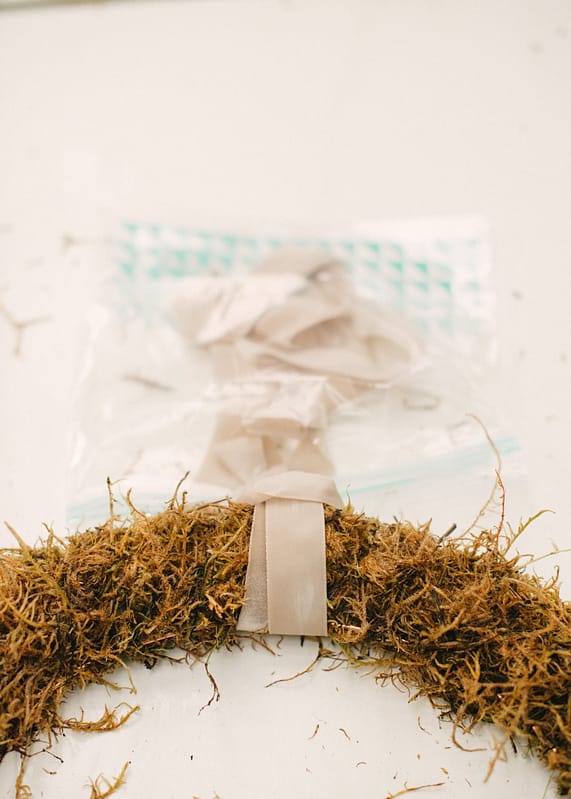
Image by <a class="text-taupe-100" href="http://www.hannahduffy.com" target="_blank">Hannah Duffy Photography</a>.
A Simple 3-Step Guide to Wreath-Making.
Choose your ribbon
You will need about two metres of ribbon to hang your wreath. We chose some rather lush velvet ribbon!
Take the ribbon and fold in half, place around your wreath and then thread the end through the loop to secure. To keep your ribbon nice and clean whilst you’re making your wreath you can pop it in a plastic sandwich bag and seal!
Step 3
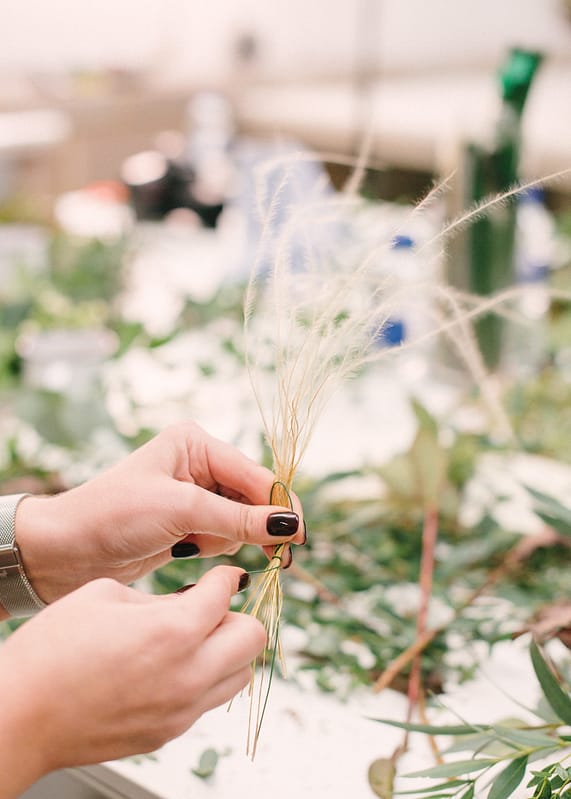
Image by <a class="text-taupe-100" href="http://www.hannahduffy.com" target="_blank">Hannah Duffy Photography</a>.
A Simple 3-Step Guide to Wreath-Making.
Image by <a class="text-taupe-100" href="http://www.hannahduffy.com" target="_blank">Hannah Duffy Photography</a>.
A Simple 3-Step Guide to Wreath-Making.
Time to get creative!
You can make a wreath at any time of year using seasonal foliage and flowers of your choice – your local florist will be able to guide you on what will work but we used a selection of eucalyptus, pampas grass, berries and wigeila.
Taking small (or large in Kat’s case!) pieces of foliage wiggle the end into the moss to insert. Don’t push directly into the moss as you might end up just pushing the moss through the ring, instead wiggle and wait for that little pop which signals you can push it in. It’s quite satisfying let me tell you.
The easiest way to tackle filling your moss base is to just go for it! Don’t overthink, but every now and again hold it up to view your happy with the progress.
You can fill your entire base if you want a complete wreath, or if you want something a little more rustic then why not create an asymmetrical wreath leaving some of the moss bare.
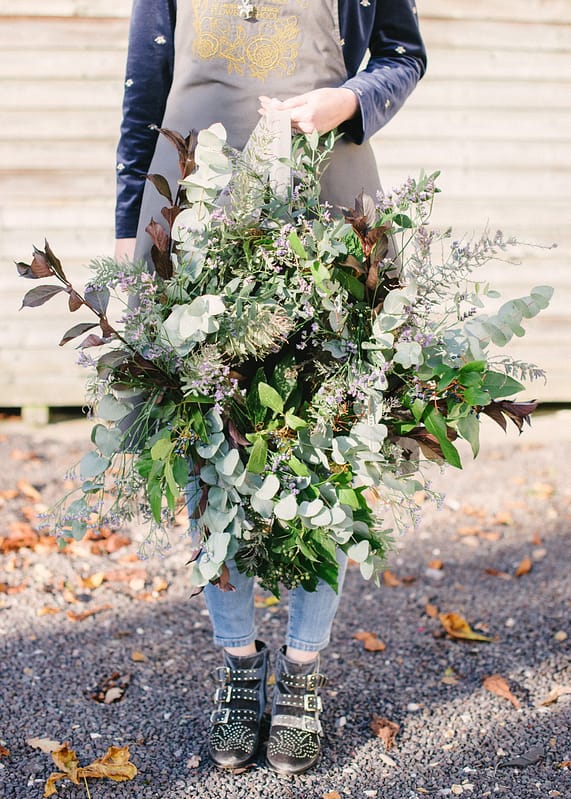
Image by <a class="text-taupe-100" href="http://www.hannahduffy.com" target="_blank">Hannah Duffy Photography</a>.
A Simple 3-Step Guide to Wreath-Making.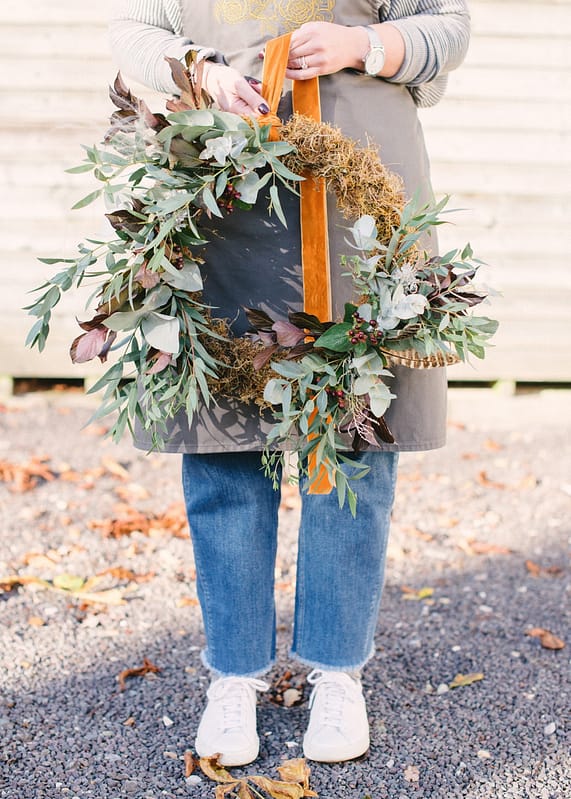
Image by <a class="text-taupe-100" href="http://www.hannahduffy.com" target="_blank">Hannah Duffy Photography</a>.
A Simple 3-Step Guide to Wreath-Making.
We hope this simple 3-step guide gives you the confidence to get creative, to be inspired and most importantly to fill your space with lots of handmade wreaths!
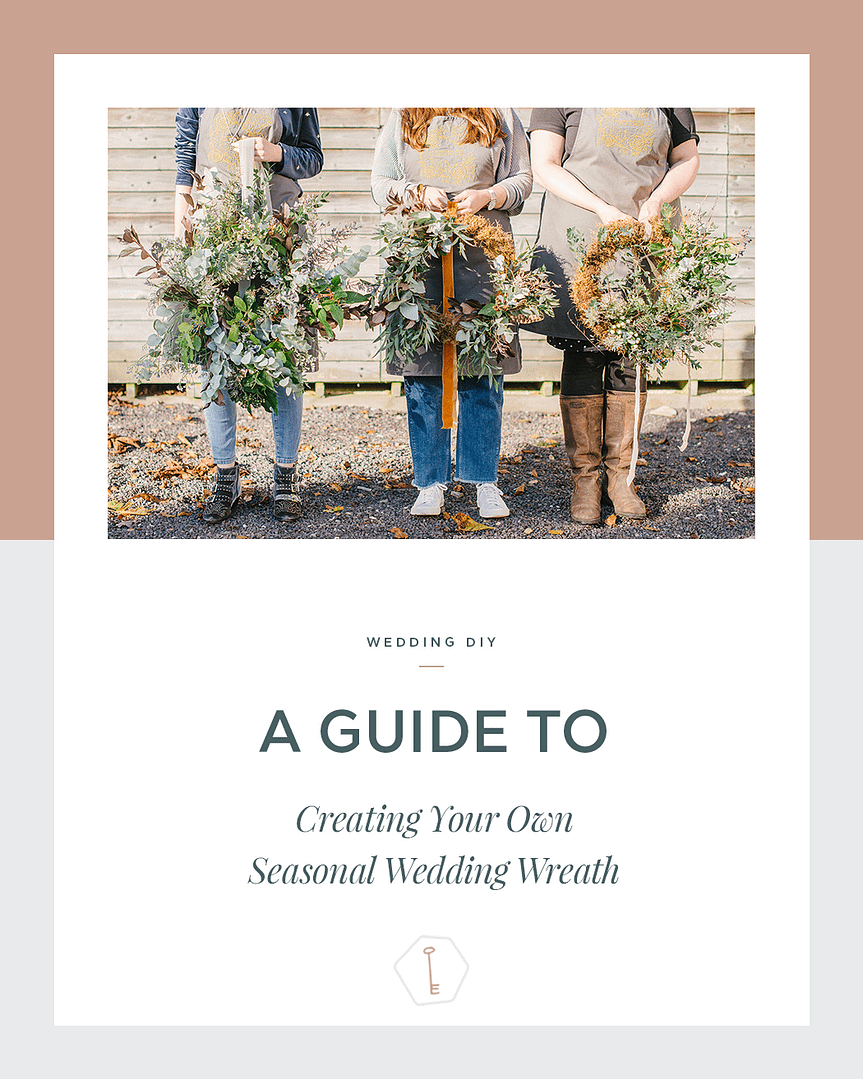
Wreaths work beautifully in a variety of different sizes, hung individually or as a little gang of three. Suspend from trees, hang on doors, walls, ceilings, chairs and more. Oh and with circular décor being a focus in our 2018 Wedding Trend Report we think we’ll be seeing a lot more of our wreath friends popping up in weddings whatever time of year it is!
Thank you so much to the wonderful Jay Archer Floral Design, Hannah Duffy Photography and Katrina Otter Weddings for a lovely afternoon out of the office!
Discover our Venues
Refine your wedding venue search by location, capacity, type, and style.
Visit Venue FinderSuppliers We Love
From photographers to bridal fashion and styling, find the best wedding suppliers right here.
View Suppliers